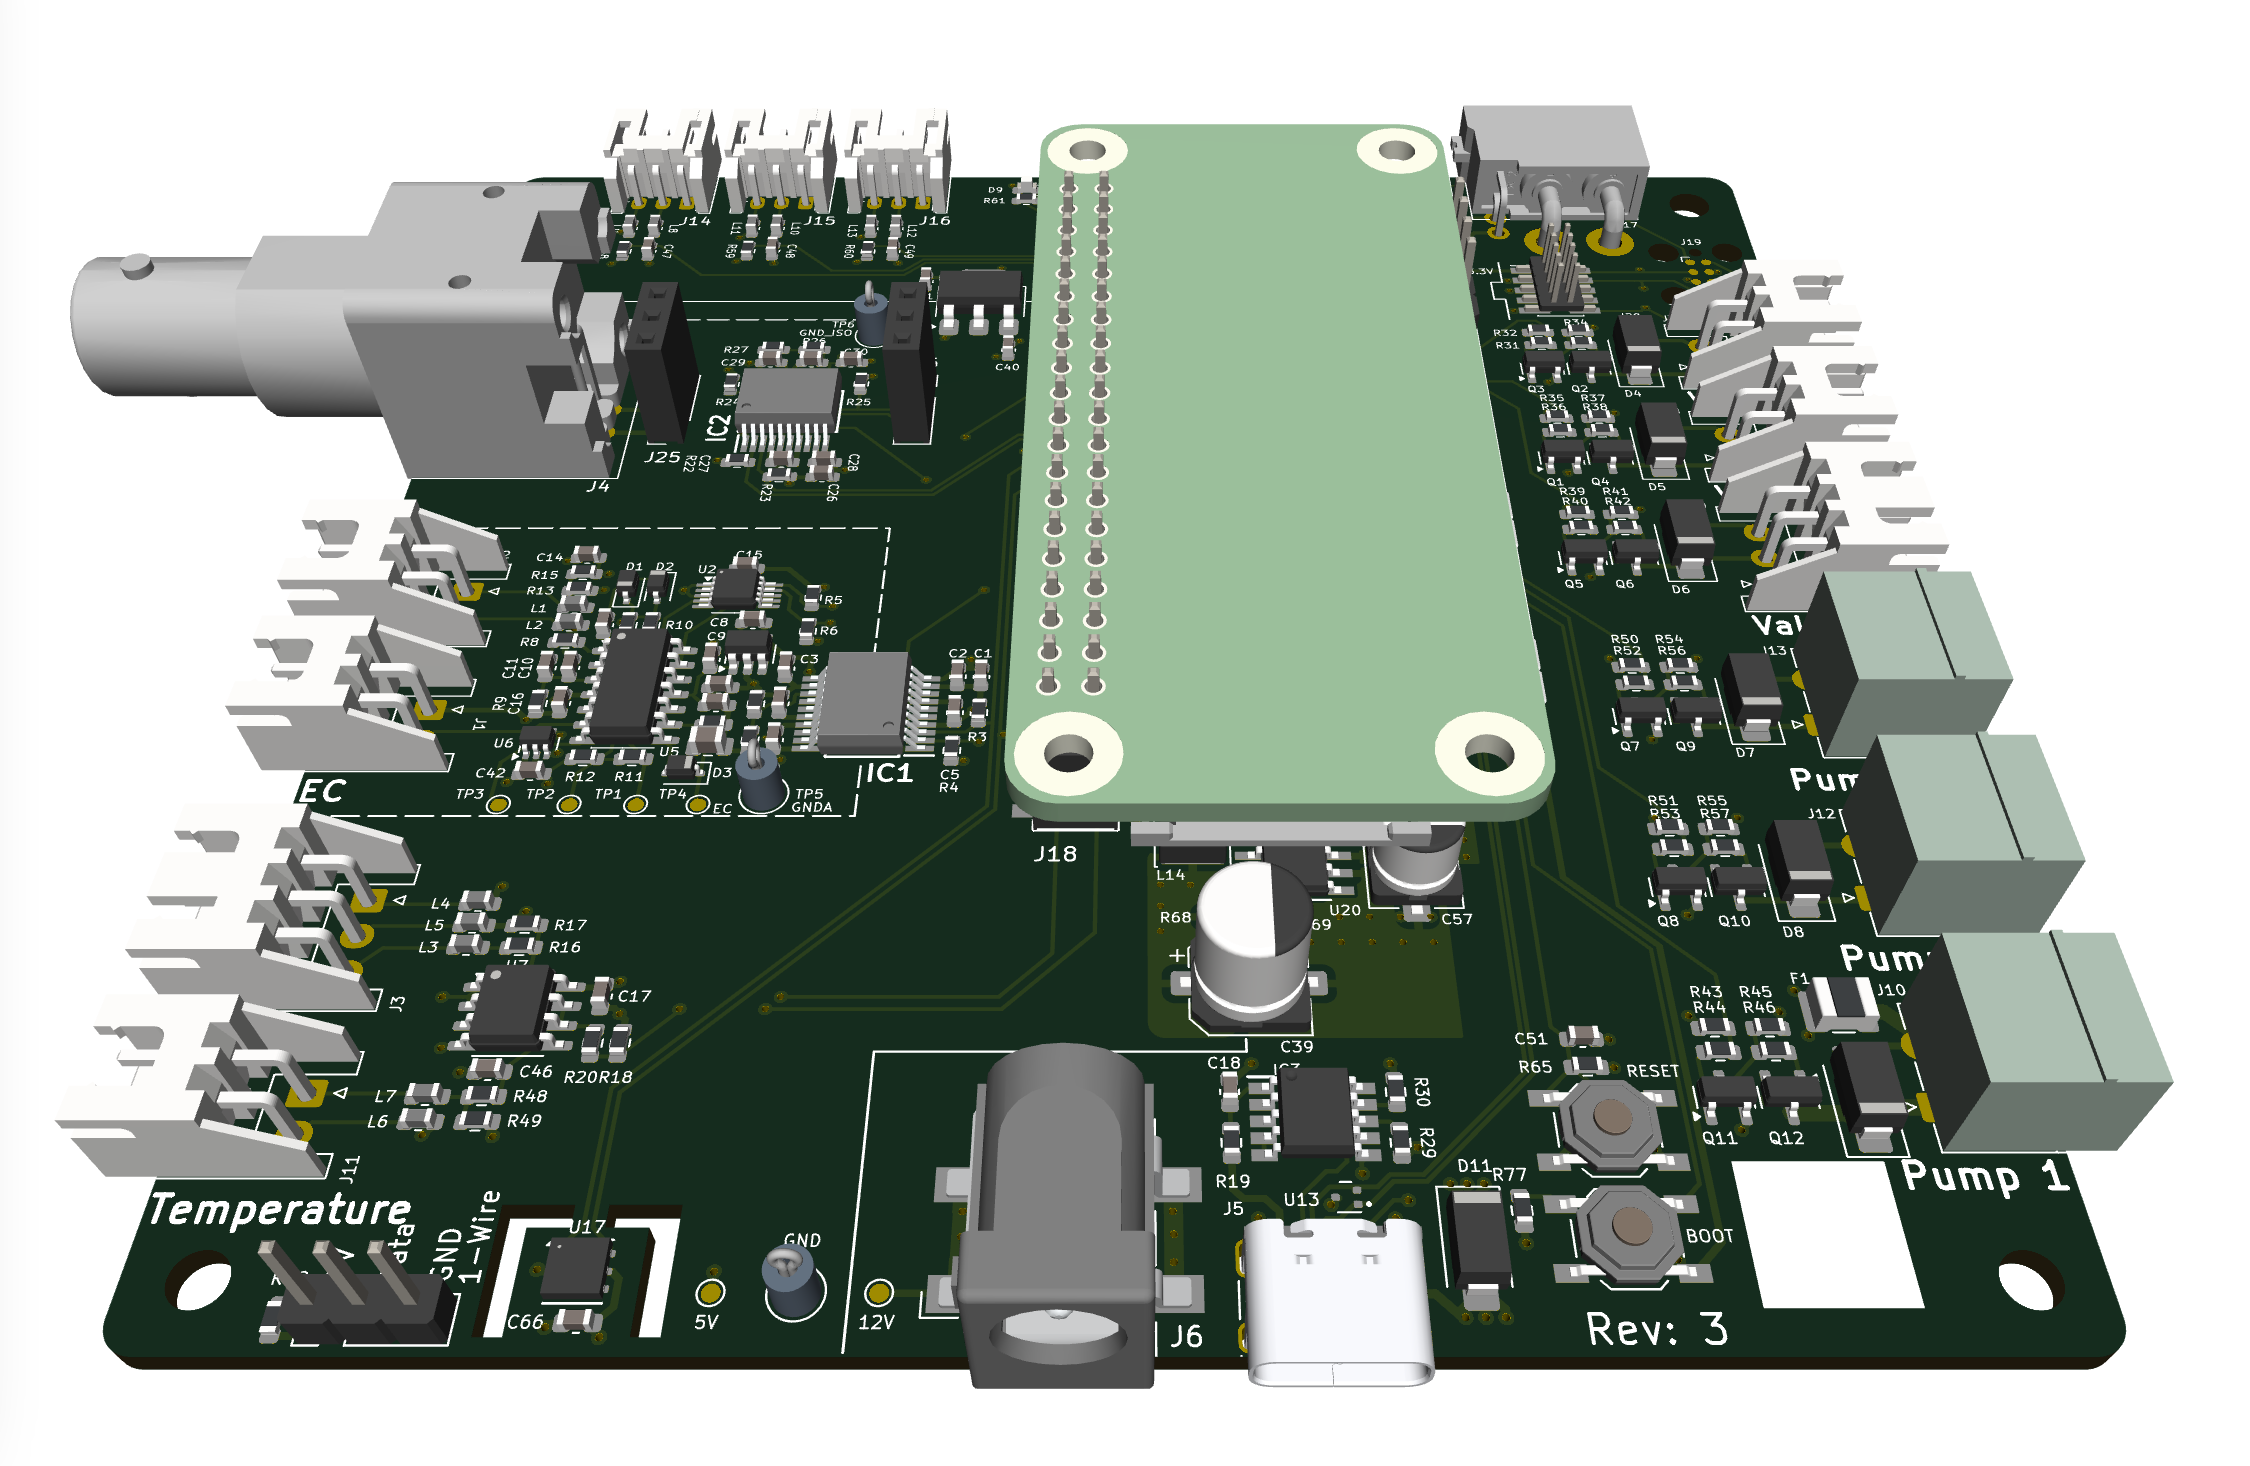
The RootMaster is a versatile development board designed for advanced hydroponic automation and environmental monitoring. Created for developers and DIY enthusiasts, it empowers users to write their own software and tailor the system to meet their unique hydroponic needs. With a robust combination of powerful hardware and compatibility with custom software, RootMaster serves as a flexible foundation for innovative hydroponic projects.
Key Features:
Raspberry Pi Compatibility for Advanced Software Customization
RootMaster is designed to work seamlessly with a Raspberry Pi, enabling you to write and deploy your own control software. Whether you prefer Python, C++, or other programming languages supported by the Raspberry Pi platform, RootMaster provides the freedom to create a solution tailored to your hydroponic setup.
STM32G4 Microcontroller for Precise Hardware Management
The STM32G4 microcontroller handles critical real-time operations, such as precise dosing, environmental monitoring, and pump control. This ensures reliable, high-speed responsiveness for maintaining optimal growing conditions.
Comprehensive Monitoring Capabilities
RootMaster comes equipped with inputs for various sensors, enabling robust environmental and nutrient monitoring:
- pH Sensor: Ensures precise pH monitoring, essential for nutrient availability.
- Water Temperature Sensor: Monitors water temperature to prevent root shock and support healthy growth.
- EC (Electrical Conductivity) Sensor: Tracks nutrient concentration for balanced feeding.
- Air Temperature & Humidity Sensor: Provides data for fine-tuning the environmental conditions.
- Flow Meter: Detects water flow rates, helping prevent blockages or irrigation issues.
- Pump and Valve Control Outputs: Support for up to three pumps and three valves offers flexibility to manage nutrient dosing and water circulation. Compatible with both peristaltic and water pumps, these outputs allow automation of critical hydroponic tasks.
Digital Inputs for System Customization
Three digital inputs can be used to integrate additional sensors, such as water level indicators, to enhance system control and prevent overflow or shortages.
CAN-Bus Interface for Expansion
The inclusion of a CAN-bus interface allows for future scalability, enabling you to connect additional modules or integrate the board into larger systems as your hydroponic setup evolves. CAN-FD up to 1 Mbit/s is supported.
pH interface
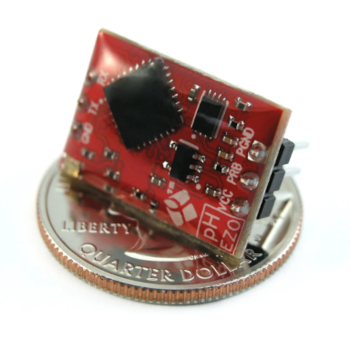
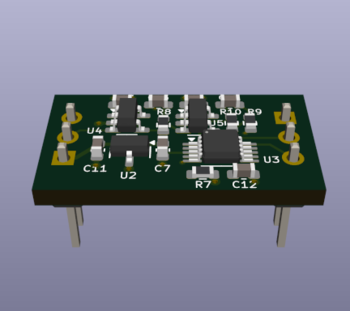
There are two options for the pH measurements interface. The RootMaster can work with either the EZO-pH interface from Atlas Scientific (purchased separately) or with our own sensor interface. Both interfaces can be used with either Atlas Scientific pH probes or generic low cost pH probes.
pH connector
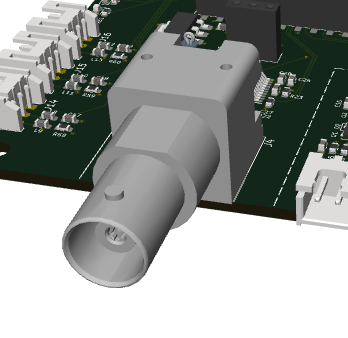
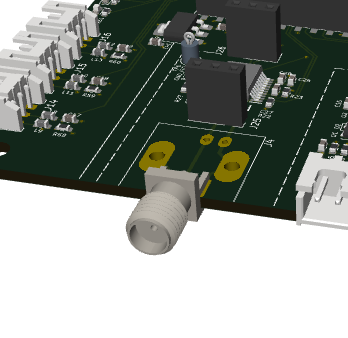
To support as wide range of pH probes as possible the pH interface can be shipped with either a BNC connector (for use with generic low cost pH probes) or an SMA connector (for used with Atlas Scientific pH probes).
Programming interface
RootMaster has 4 ways of programming the STM32G4.
- TagConnect 10 pin (TC2050-IDC)
- 2.54” pin header, pin compatible with STM32 Blue Pill
- Cortex Debug connector.
- USB DFU
Why Choose RootMaster?
RootMaster is not a finished product but a development platform for those who want full control over their hydroponic system. With robust hardware and a customizable software environment, you have the tools to create a tailored automation system. Whether you’re an experienced developer or an ambitious hobbyist, RootMaster enables innovation and precision for efficient, data-driven hydroponic growing.
Unleash your creativity and build your ideal hydroponics controller with RootMaster—the ultimate tool for developers and engineers passionate about indoor gardening automation.
Join the community
Join our Discord server and participate in growing community and development of OpenHydroponics and RootMaster. https://discord.gg/CezeCWc8aj
